Molly Dance
This Morris Hey! resource (films, audio and website content) can be used and shared free of charge for non-commercial educational use only. Permission must be sought from the authors and EFDSS for any other use of this material.
Introduction
Possibly the most recent and creative of the morris traditions. It was known in 19th century, particularly in East Anglia, but died out in the 1930s leaving little documentary evidence. It was revived by Cambridge Morris Men in 1977. Since then many different sides (or teams) have taken up Molly Dancing and have taken the style in many different directions.
We have used this opportunity to allow individual groups to add creativity to their morris dancing. The Ultimate is a dance that our dancers, the fabulous Fool’s Gambit, dance and show where the style can go.
Watch the full dance (video 12), and then watch how it breaks down into sections as described below.
The Molly Dance Part 1: Create your own dance
Formation
We suggest a set of 4 couples, as for Dilwyn, but you can change this when you create your own dance.
Steps and Hand Movements
In this dance the figures generally start on the left foot but this is only to give you an idea and you might do it differently.
A version of Single Step throughout but with the knees raised high (the power is down and forward).
The arms are bent and swing quite strongly across the body, with lightly clenched fists.
Keep a very serious expression on your face.
All the turns are very sharp.
The Sequence of the Dance
We want you to create your own dance, using figures that we have learnt already but dancing them in a Molly Dance style. To remind you, these are
- Foot Up and Foot Down
- Half Gyp
- Whole Gyp
- Cross Over in 2 different styles
- Half Hey (only works for 6)
- Rounds
- Stars
- Back to Back
To give you an example, Fool’s Gambit dance Mike’s Molly consisting of four figures that you know in this way:
- Half Gyp
- Stars
- Back to Back
- Rounds
Get into groups of 8 (4 couples) or however many you want.
Each group decides which 4 of the 8 figures you have learnt that you want to use.
Think about what shapes they make and how they all fit together.
Once you have done that, then try your dance to the music.
Did it work? Do you think it needs any changes to work better?
It is important that you record your dance. How are you going to do that?
Even if you can film it, it is still good to try and write it down, explaining what the moves are and why you chose them.
You’ll almost certainly want to use some diagrams as well.
If you have a really good dance, then tell us about it on social media!
The Molly Dance Part 2 – The Ultimate
Formation
4 couple set
Steps
In this dance the figures start on the Left Foot.
The Sequence of the Dance
- Hands Across
- In & Down
- Corner Swing
- Swing
Hands Across
Work in 2 groups of 4.
4 Steps to Change sides across the set (like the chorus of Bobbing Around), turn towards the person next to you in your group of 4 on the 4th step.
(NB, in the DVD some of the dancers turn the longer way round which looks good but is not needed.)
Change places with them and turn to face your partner again. (4 steps)
You are now half-way through the figure and in the opposite corner of your group of 4.
Repeat to get back where you started from. You have danced around a small square.
In and Down
This is a bit like the Foot Up and Down that we have done before but only the first couple, the ones nearest the music, in each group do it. The dancers go in to meet each other for 2 steps then turn sharply to go down the set for 6 steps. Turn in towards each other and come back up to their places on the same track.

Corner Swing
Once again, working in your groups of 4, look at the person diagonally opposite you.
The first pair will be numbers 1 & 4 and then the second will be 2 & 3.
Make sure you know who is dancing with whom.
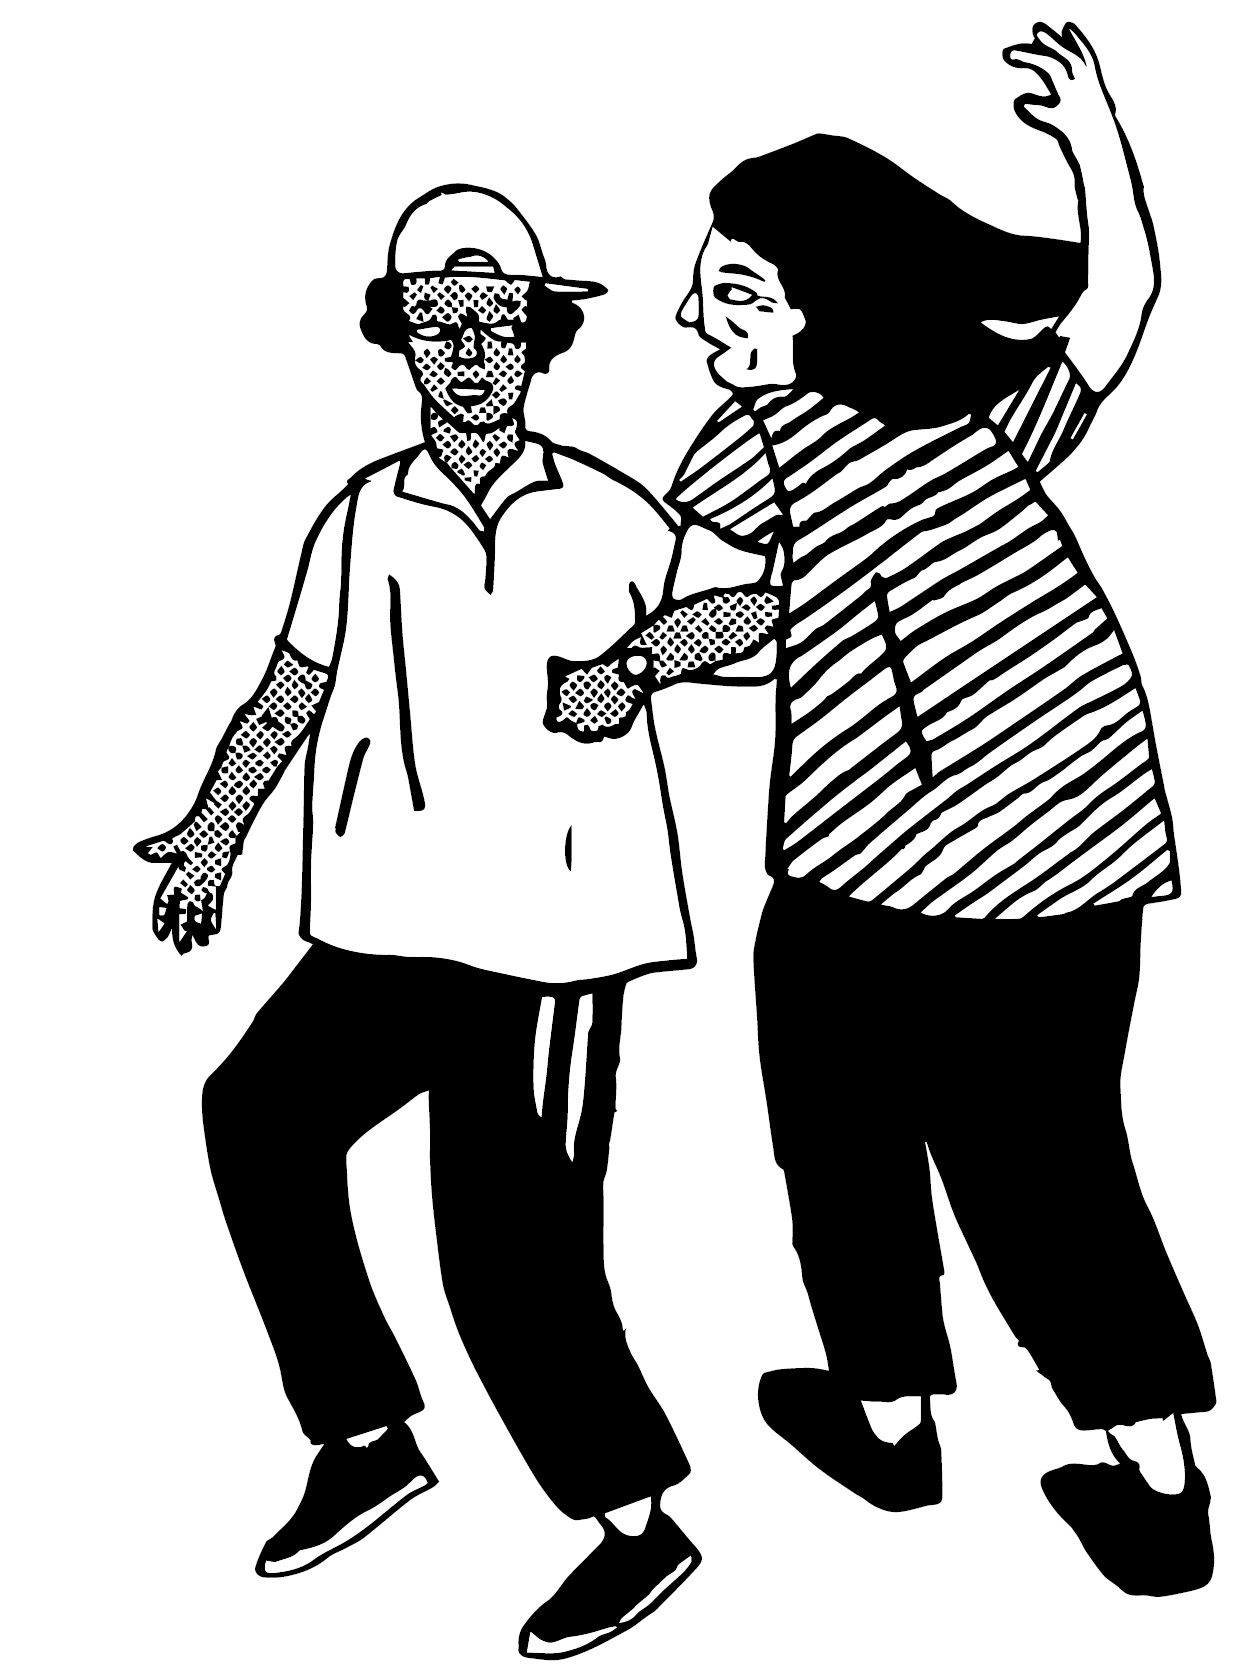
First Corners (1 & 4) meet and link right arms. (2 steps)
Dance around each other but while you do that the other hand is raised into the air. (4 steps)
Go back to your place. (2 steps)
Try to cup your hands around the elbow and don’t grip it as though you are squeezing it, because you might hurt someone. The best way to do this is to put your arms next to each other with the hand straight out and then fold the fingers around their elbow but your thumb does not move.
Swing & Change
This is a good figure but it is quite complicated so, once again, we suggest a simpler option to start with.
Put your hands on the shoulders of your partner and you are going to go around the other couple in your group of four.
Now, with the first corners pushing, slide out of the set and slide back in as though it’s a big Back to Back.
You should now have changed places. Then carry on going out on the other side to get back to place.
Then you do another out and in so that you finish in your changed places. You will now have changed places 3 times but to avoid confusion the diagram only shows it as a single change.
Once you are confident you can add in turning completely around as a couple every 2 steps. This is the Swing.

Note: The sections on Corner Swing and Swing and Change do not have separate videos full instructions, these can however be accessed by watching the whole dance and using fast forward to get to the section you want to see.


